


Christmas Reindeer Tutorial
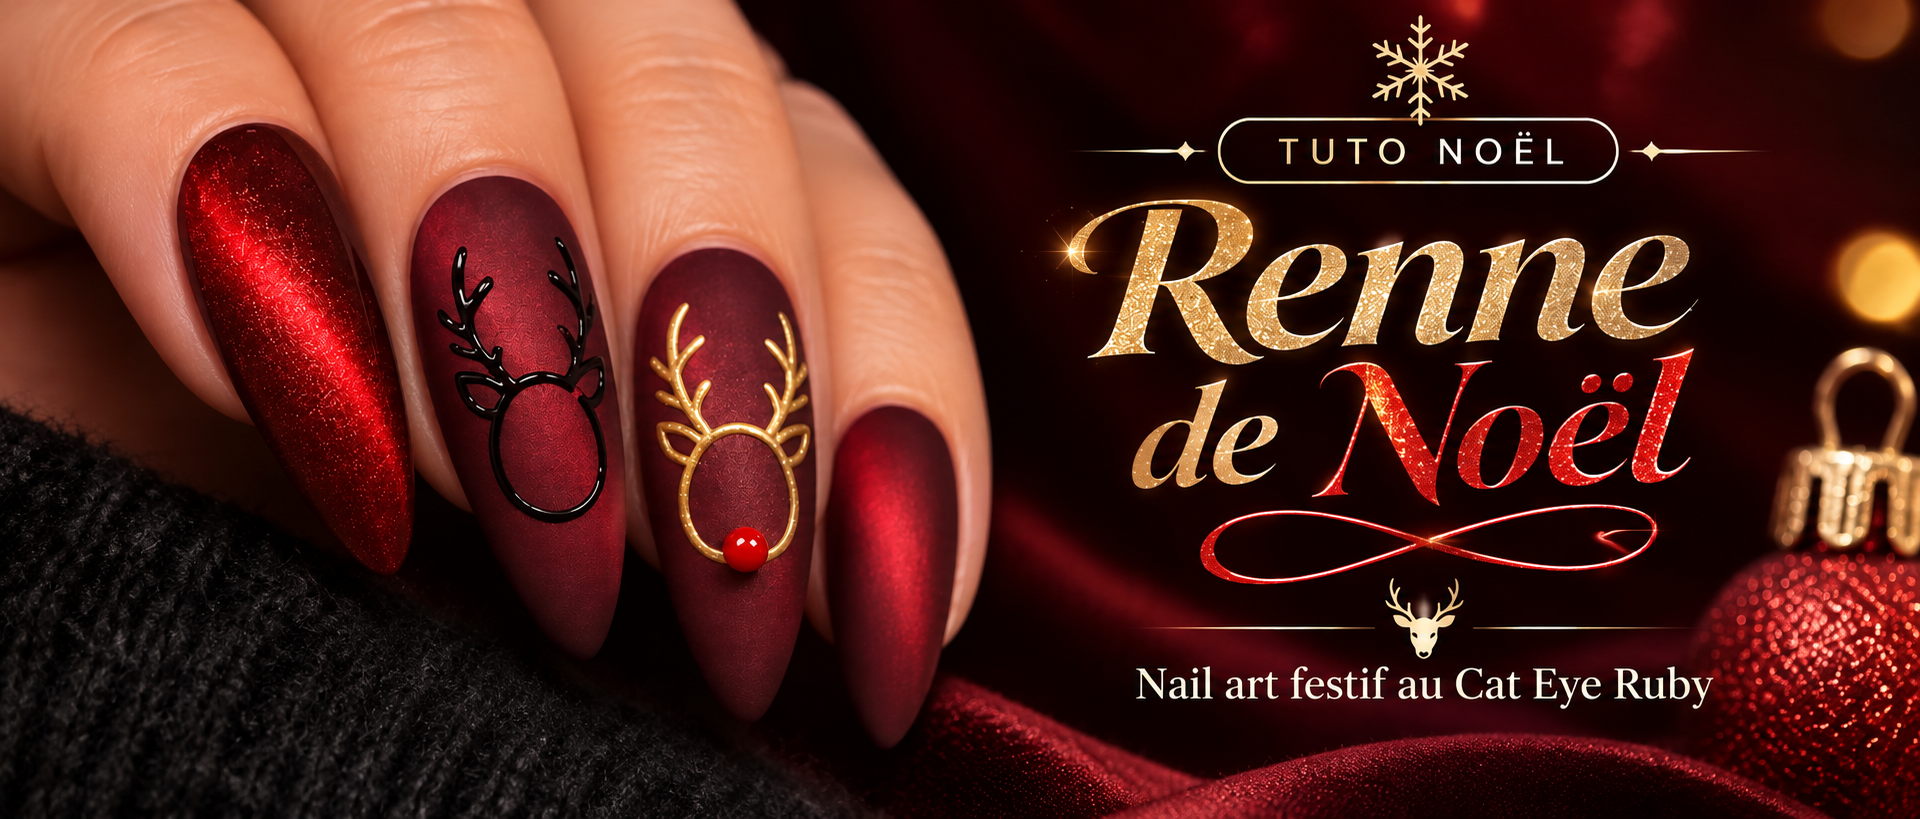
The Christmas reindeer, the season’s festive nail art!
When shop windows light up and the holidays draw near, clients look for a Christmas nail design that’s both joyful and refined.
This reindeer nail art combines a magnetic red base with a velvety feel, golden antlers that catch the light, and a small raised red nose. The contrast between the matte Cat Eye Ruby and the golden chrome details creates elegant, festive red and gold Christmas nails.
A Cat Eye Gel Polish, a matte top coat, a black Painting Gel, a gold chrome pigment, a small bead and GlueMaster Gel are enough to create this gold chrome nail art.
Discover our nine-step tutorial to recreate this Christmas reindeer on your nails.
Materials needed
Everything you need to create your Christmas reindeer.
Tutorial steps
Follow each step in order, after prepping, building and shaping the nail.
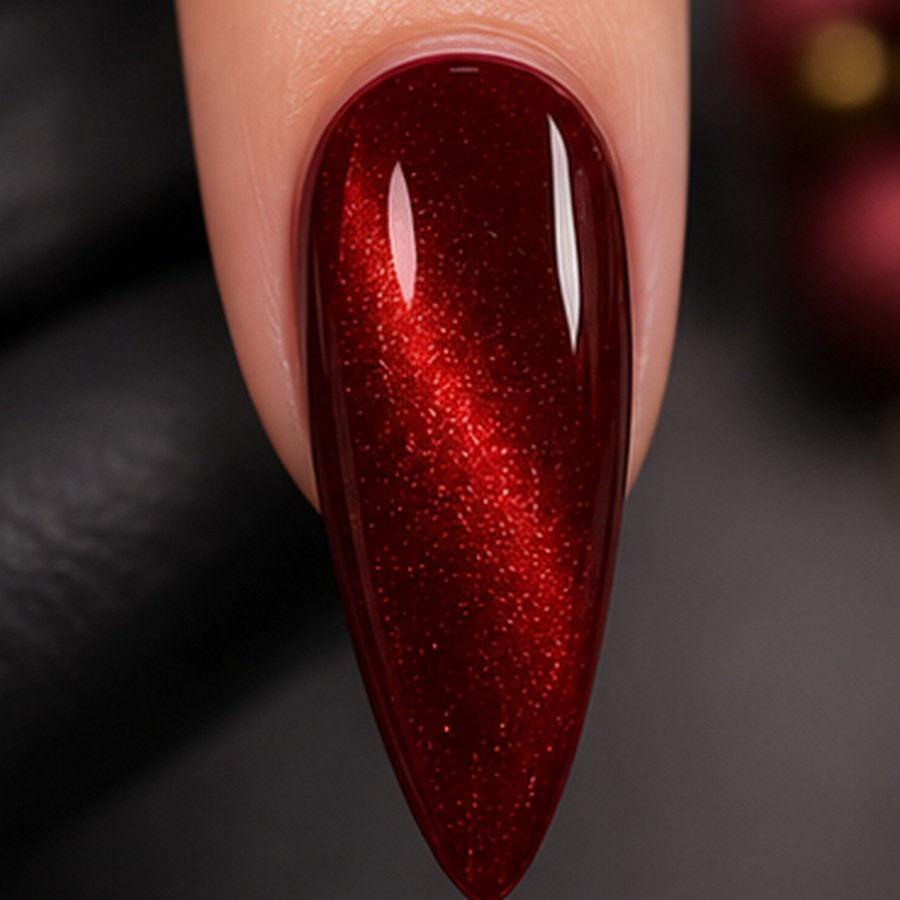
Apply Cat Eye Ruby
After prepping, building and shaping the nail, apply Cat Eye Ruby Gel Polish.
This magnetic red shade forms the base of the nail art.
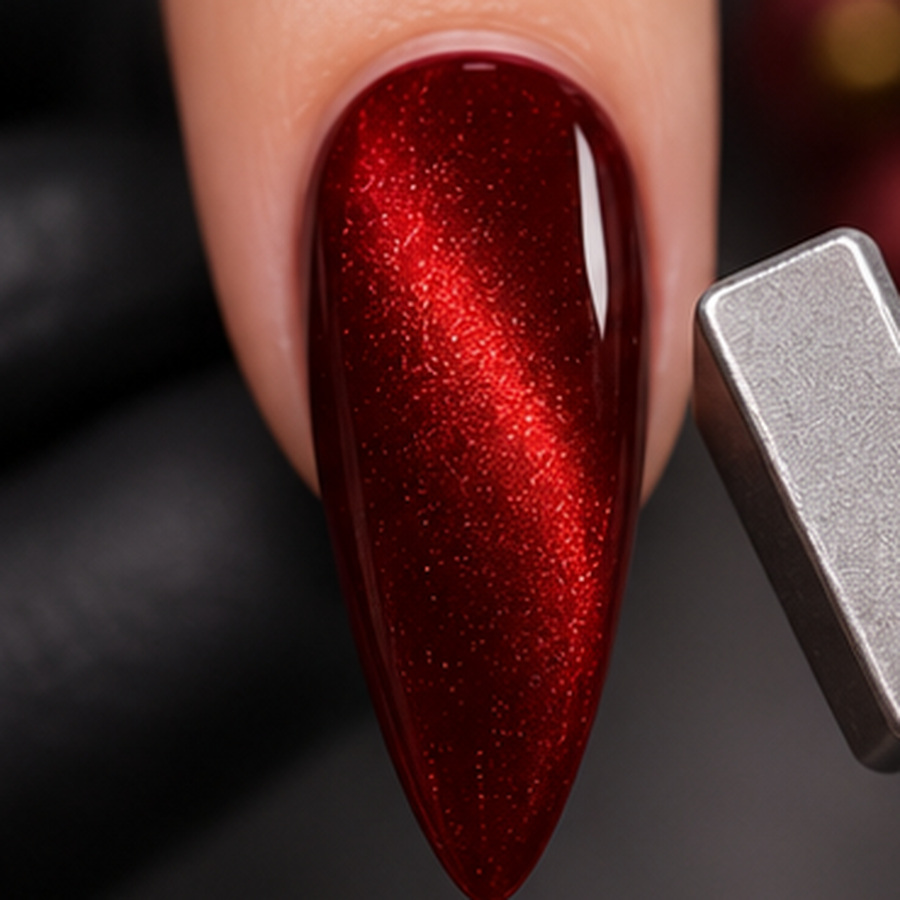
Activate the Cat Eye effect with the magnet
Bring the Cat Eye magnet close to the nail to move the Ruby’s magnetic particles.
Create a luminous reflection in the desired direction.
Once the effect is achieved, cure according to the manufacturer’s recommendations.
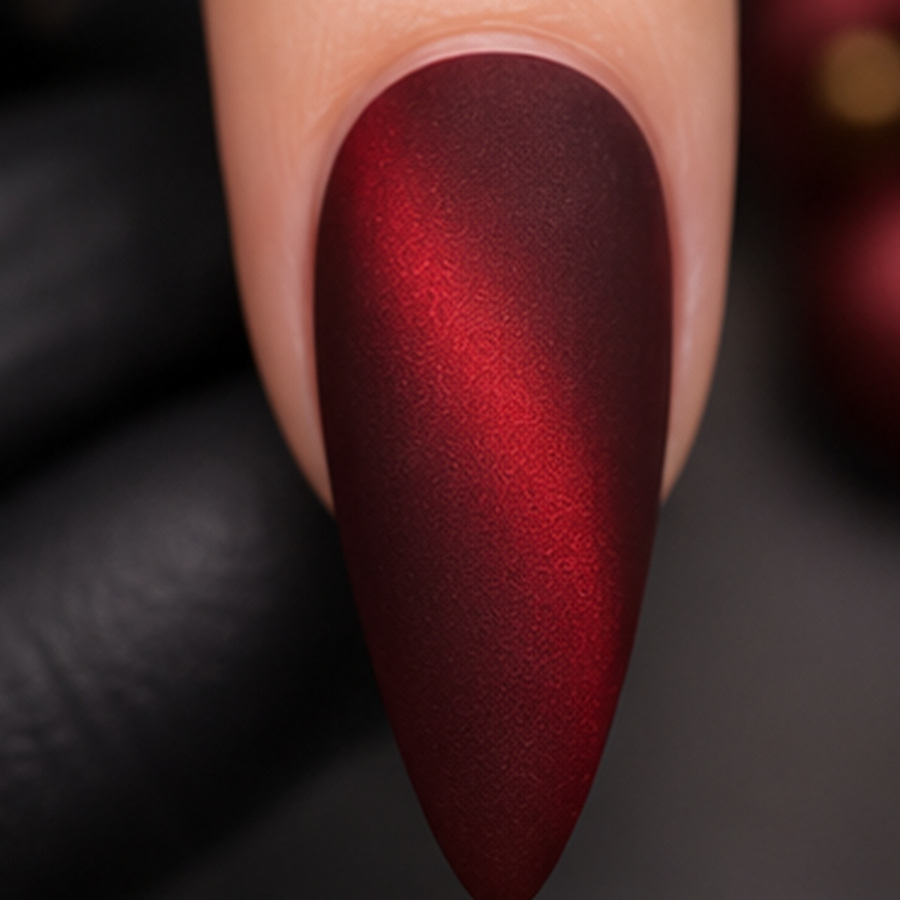
Apply Mat'Xpert top coat
Cover the nail with Mat'Xpert top coat, then cure according to the product instructions.
The base becomes matte, while the Cat Eye shimmer remains visible under the finish.
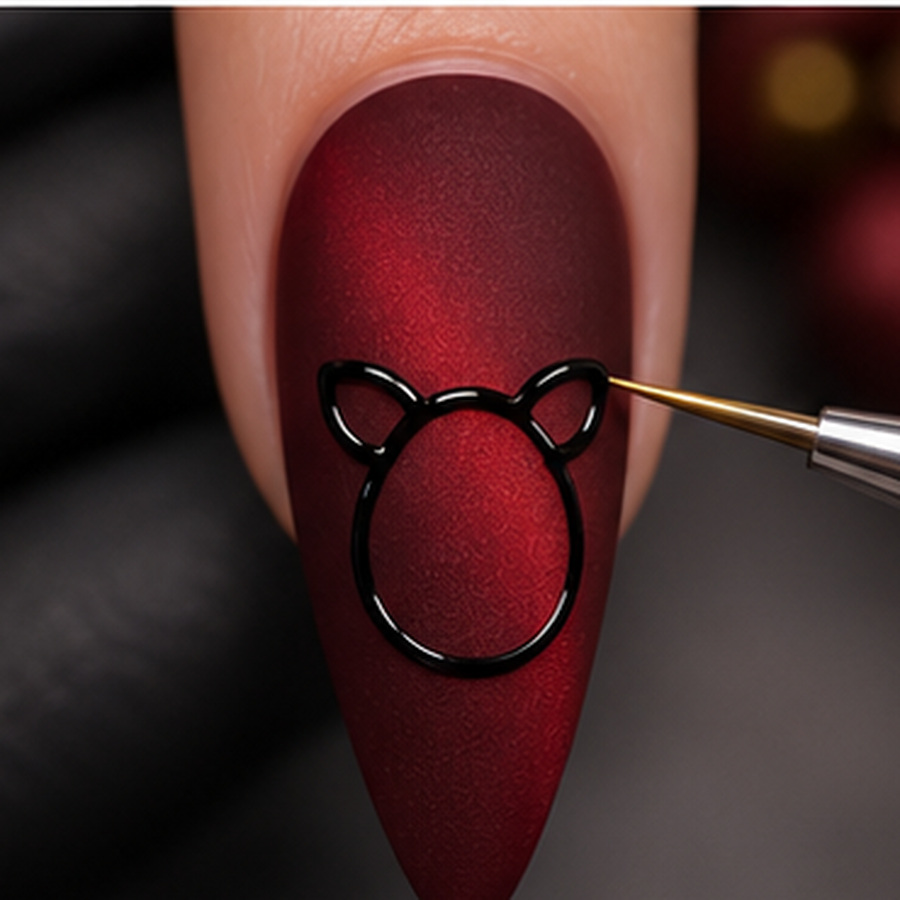
Draw the reindeer’s head and ears
Using Achromatic Black Painting Gel and the 8 mm Liner brush, draw a circle or oval on the lower part of the nail.
Add two small ears on each side of the upper part of the circle.
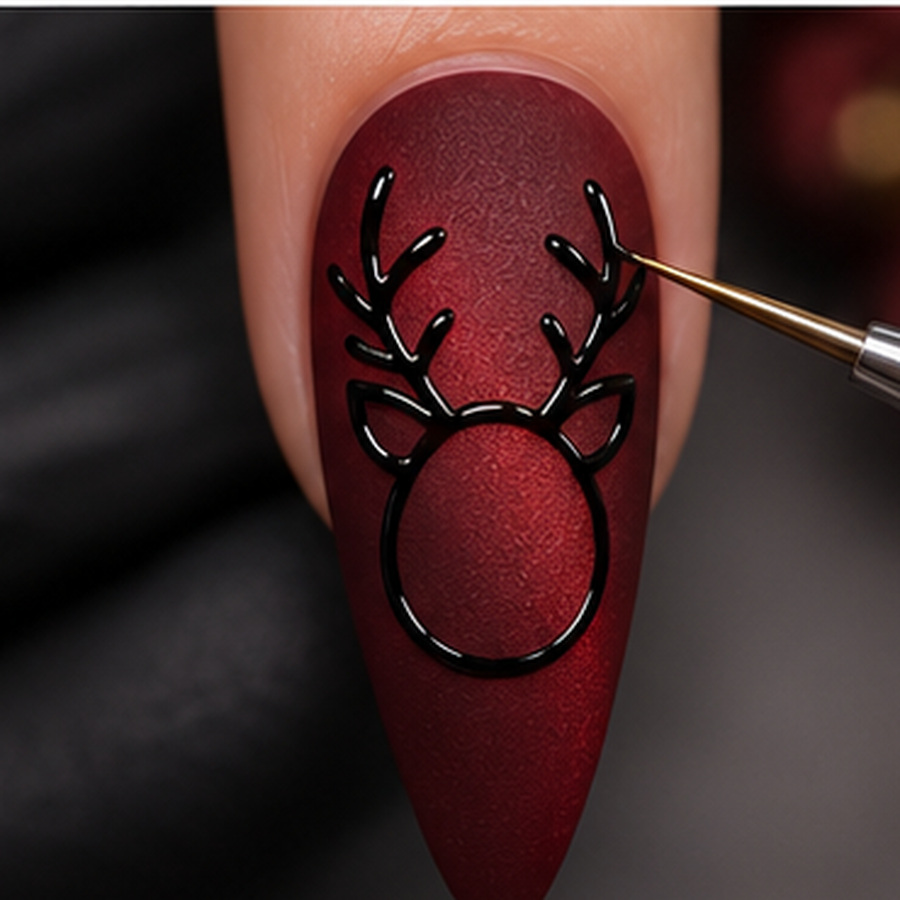
Draw the reindeer’s antlers
Still using Achromatic Black Painting Gel and the 8 mm Liner brush, draw the two antlers above the head.
Gradually add the small branches, aiming for a balanced, symmetrical design.
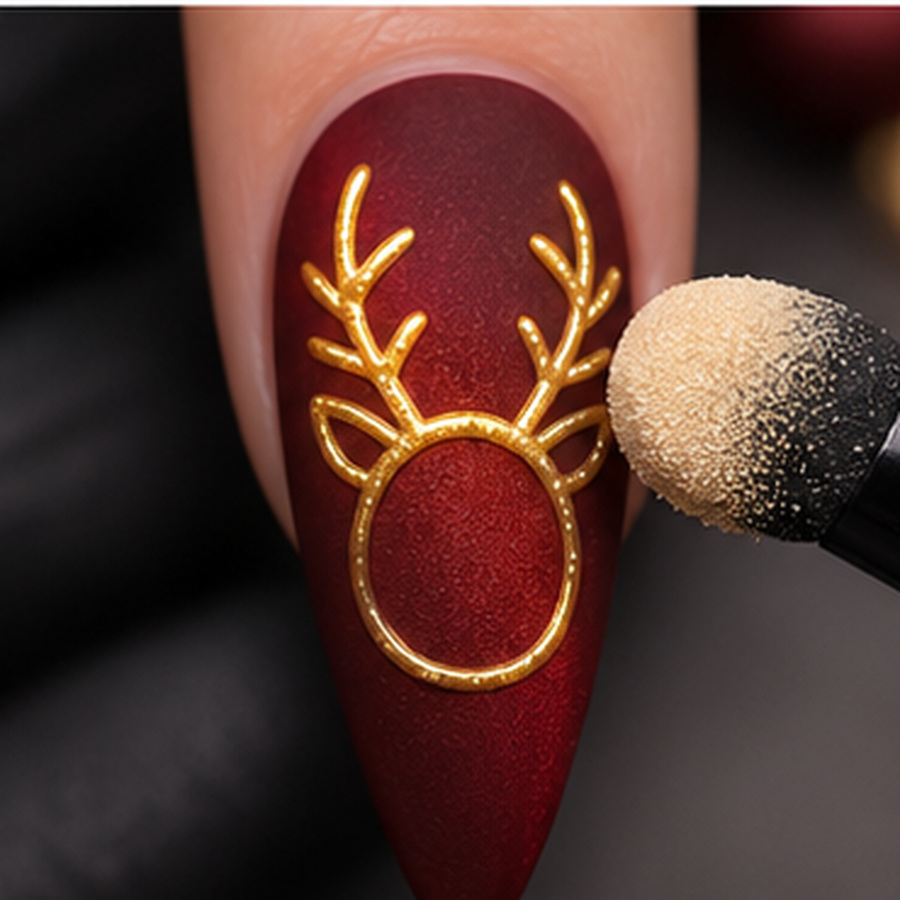
Apply the gold chrome pigment
Apply the gold chrome pigment over the design made with Achromatic Black Painting Gel.
Bring out the outlines of the head, ears and antlers, then gently remove excess pigment from the matte background.
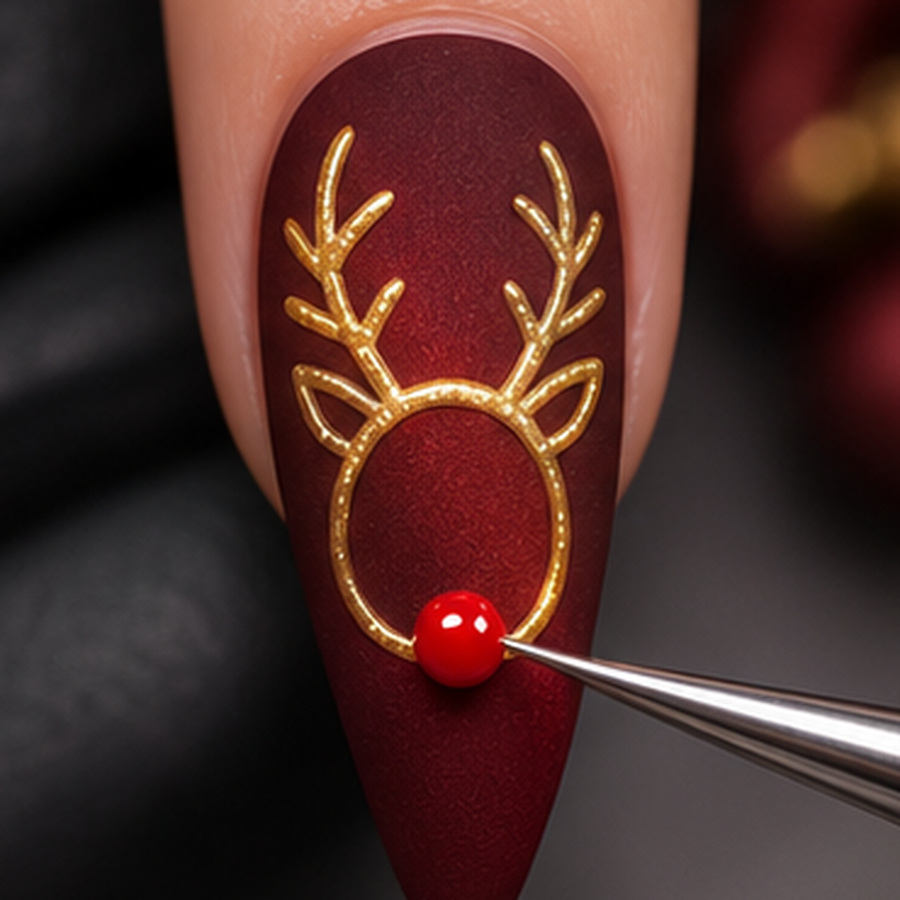
Place the red bead
Place a small drop of GlueMaster Gel at the bottom of the circle representing the reindeer’s head.
Carefully place the small red bead onto the drop to form its nose.
Then cure to secure the bead according to the product recommendations.
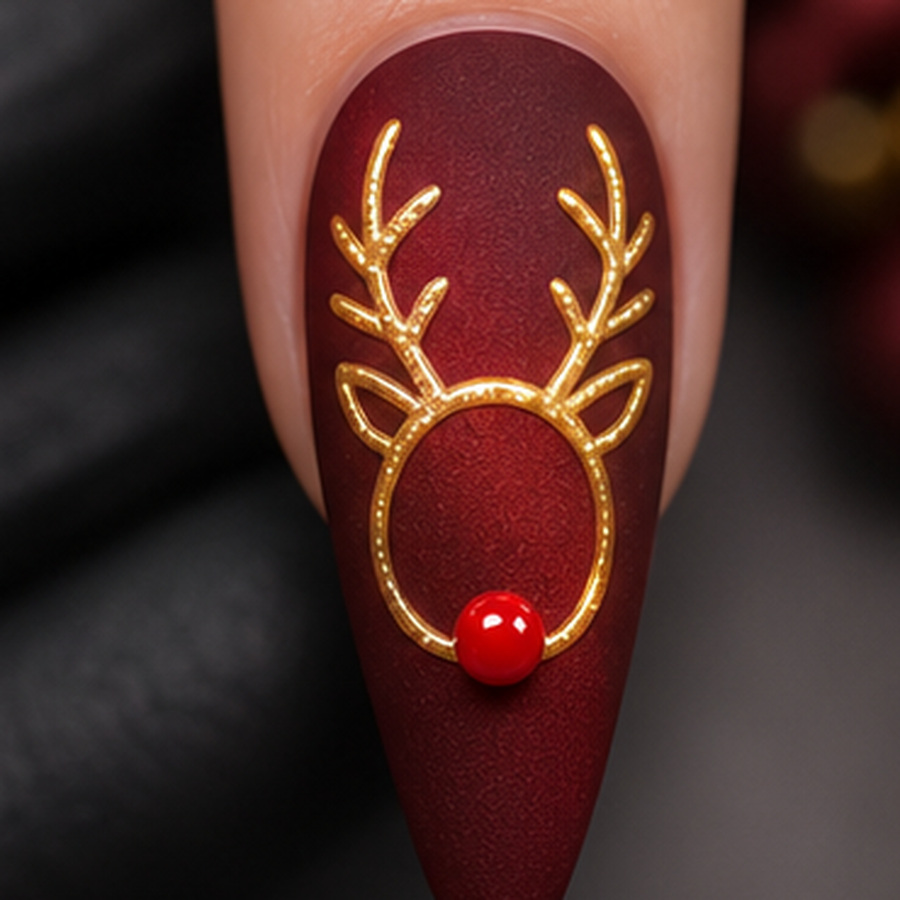
Check the design
Check the position of the red bead, the symmetry of the antlers, and the cleanliness of the gold outline.
Make sure the decoration is properly secured.
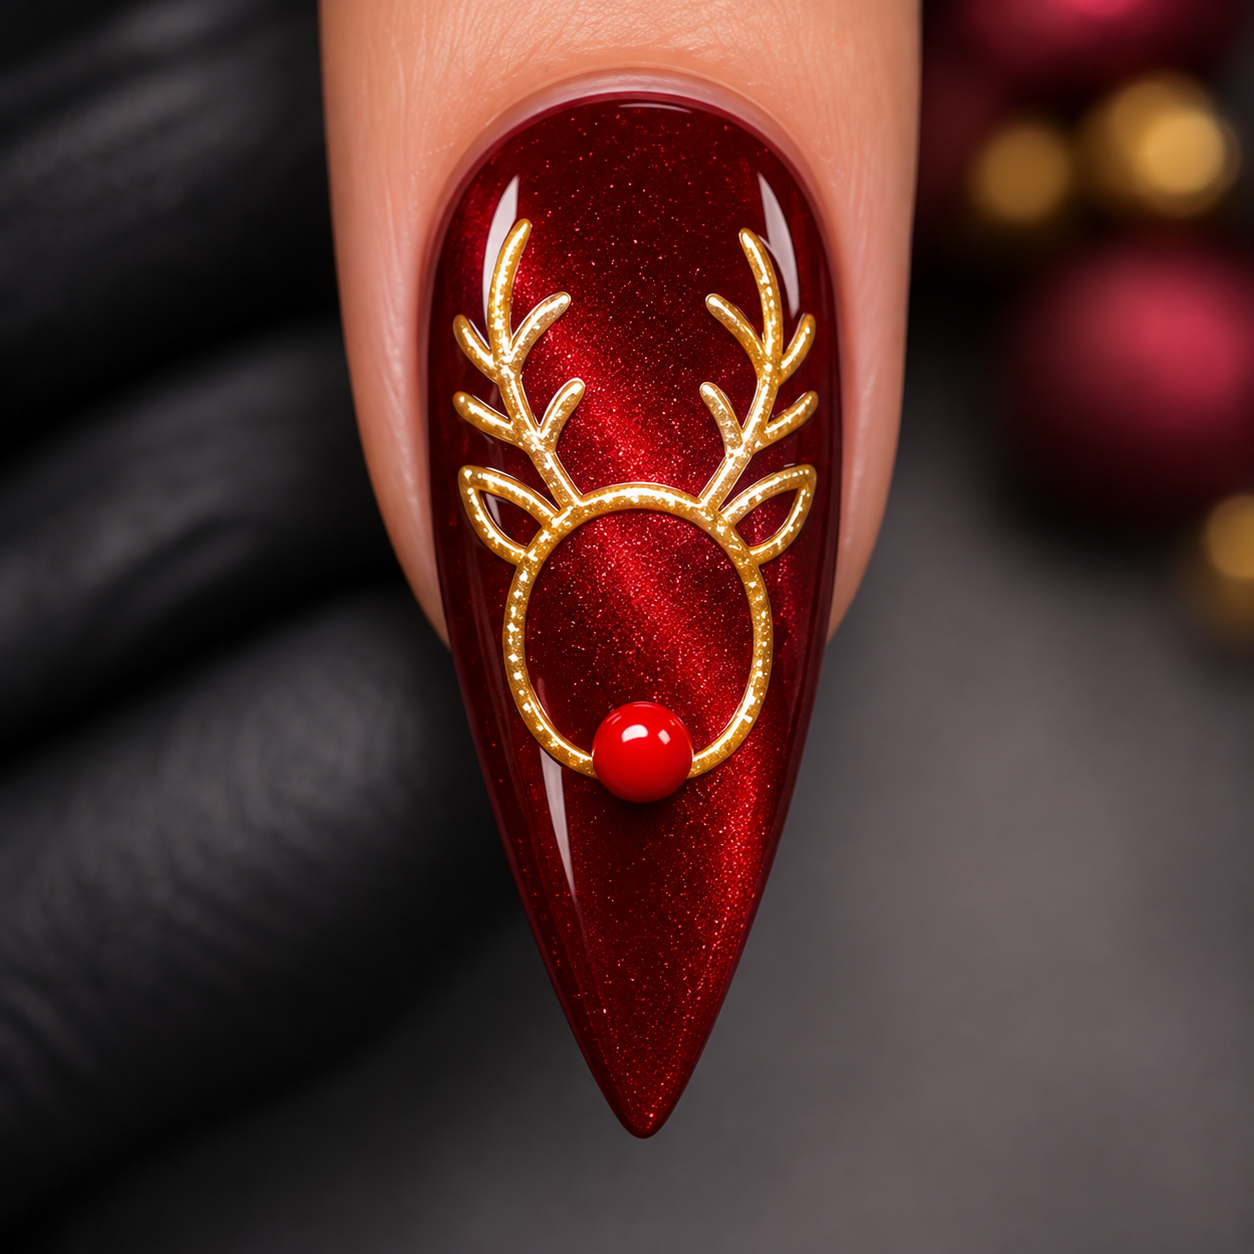
Choose the final finish
Two options:
- Matte version
- Glossy version
Matte version: keep the velvety Mat'Xpert effect and protect the decorative elements using a compatible protocol.
Glossy version: apply a glossy top coat compatible with the chrome pigment and the raised decoration, then cure according to the manufacturer’s recommendations. It visually intensifies the Ruby shimmer.
A festive, elegant red and gold nail art
The contrast between the magnetic red base, the matte finish and the gold chrome details creates a refined result, perfect for the holiday season.
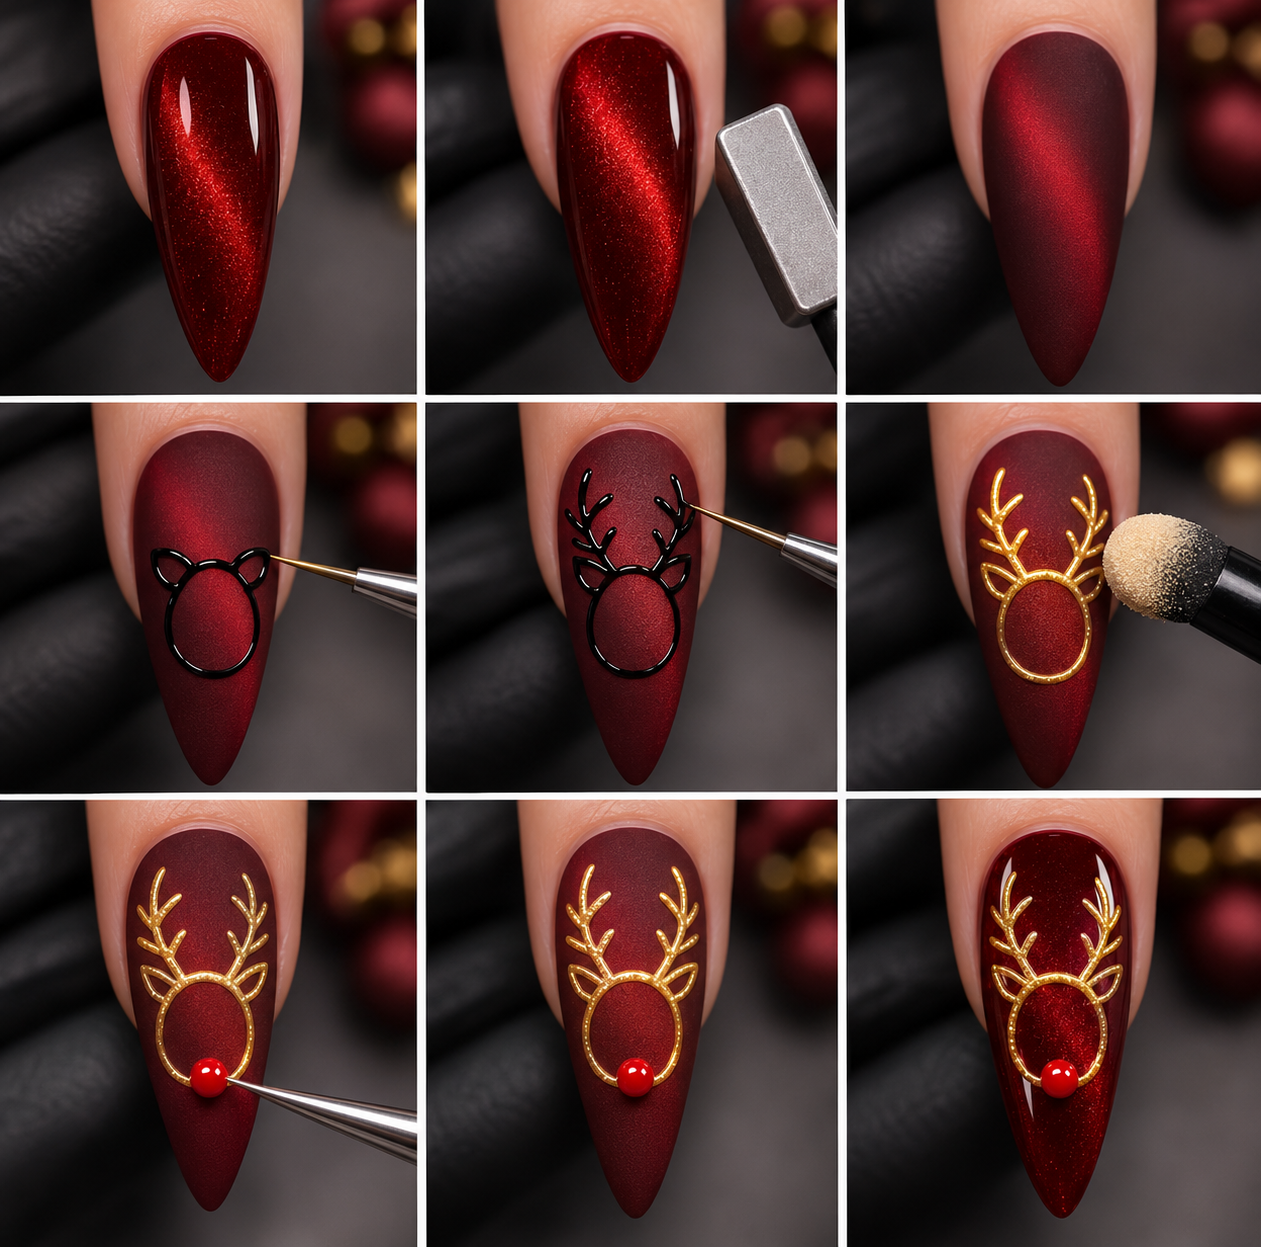
Products used
The secret to a beautiful reindeer: fine lines and well-controlled chrome
- Load the liner brush lightly: a small amount of Painting Gel creates finer lines that are easier to control.
- First draw the two main branches of the antlers, then add the smaller branches, alternating sides to keep symmetry.
- Painting Gel only hardens under the lamp: use that time to correct a line before curing.
- Rub the chrome pigment gently, then dust off carefully to keep a crisp contrast between red and gold.
Create your Christmas reindeer
With its magnetic red base, golden antlers and small red nose, this Christmas nail art tutorial adds a festive, elegant touch to all your year-end manicures.
As an accent nail or across the whole hand, matte or glossy: it’s up to you to choose your style!
Find the required materials directly in our DesignNailArt shop.
Discover the products