


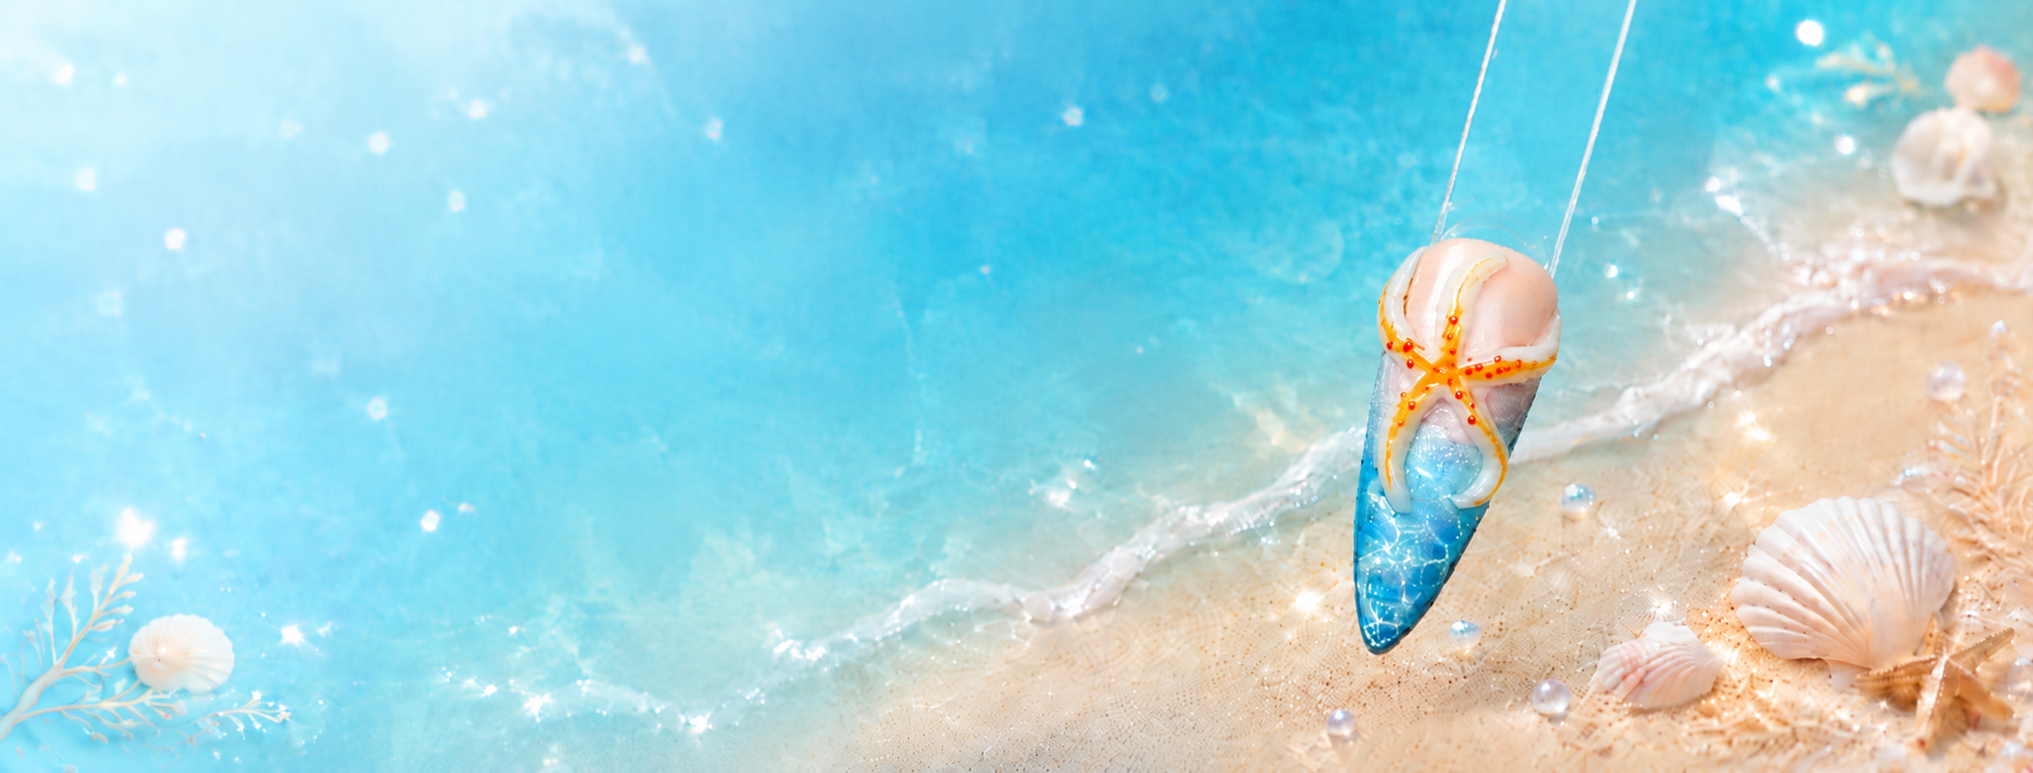
3D Starfish
The process on video
Follow the complete nail art process: from the Cover Natural Beige base to applying the sculpted starfish, with all the brush techniques and cat eye magnet work.
Tutorial steps
Follow each step in order for the best result. The starfish sculpting comes after the nail is fully finished.
Cover Natural Beige base
After the extension, apply Gel Polish Cover Natural Beige evenly over the entire nail to create a smooth, even base.
LED cure — 60 secVega gradient on the free edge
Apply Gel Polish Vega from the Moonlight collection to the free edge. Use the ombré brush to gently blend the product upward toward the cuticle area.
Cat eye wave effect
Since Vega is a cat eye, pass the cat eye magnet over the nail in a sinuous motion to create a wave effect before curing.
First top coat layer
Apply the top coat over the entire nail to seal the color and the cat eye. This base will then receive the sculpted starfish.
LED cure — 90 secPreparing the Builder Gel
Mix Solid Builder Gel Clear with a drop of white Gel Polish to obtain a slightly opaque pearly shade that will mimic the starfish’s natural texture.
Shaping the arms
Form a small gel rope, then cut it into several pieces. Shape each portion into a starfish arm on the nail, working from the center outward.
Refining with the Silicone Brush
Use the Silicone Brush Plastiline slightly moistened with a bit of cleaner to refine the edges, soften the joins, and give each arm an organic look.
Curing the starfish
Once all the arms are adjusted and the shape is satisfactory, cure under the LED lamp to set the entire gel sculpture.
Details with a liner brush
With the 15 mm liner brush, paint texture details on each arm using Gel Polish Brownies: lines, striations, and reliefs that mimic the natural surface.
Center dots and final finish
Create the dots in the center of the starfish with Gel Polish Henna and the dotting tool. Finish with a top coat over the starfish for long-lasting shine.