


Autumn Nail Art Tutorial: Create a 3D Sweater Effect
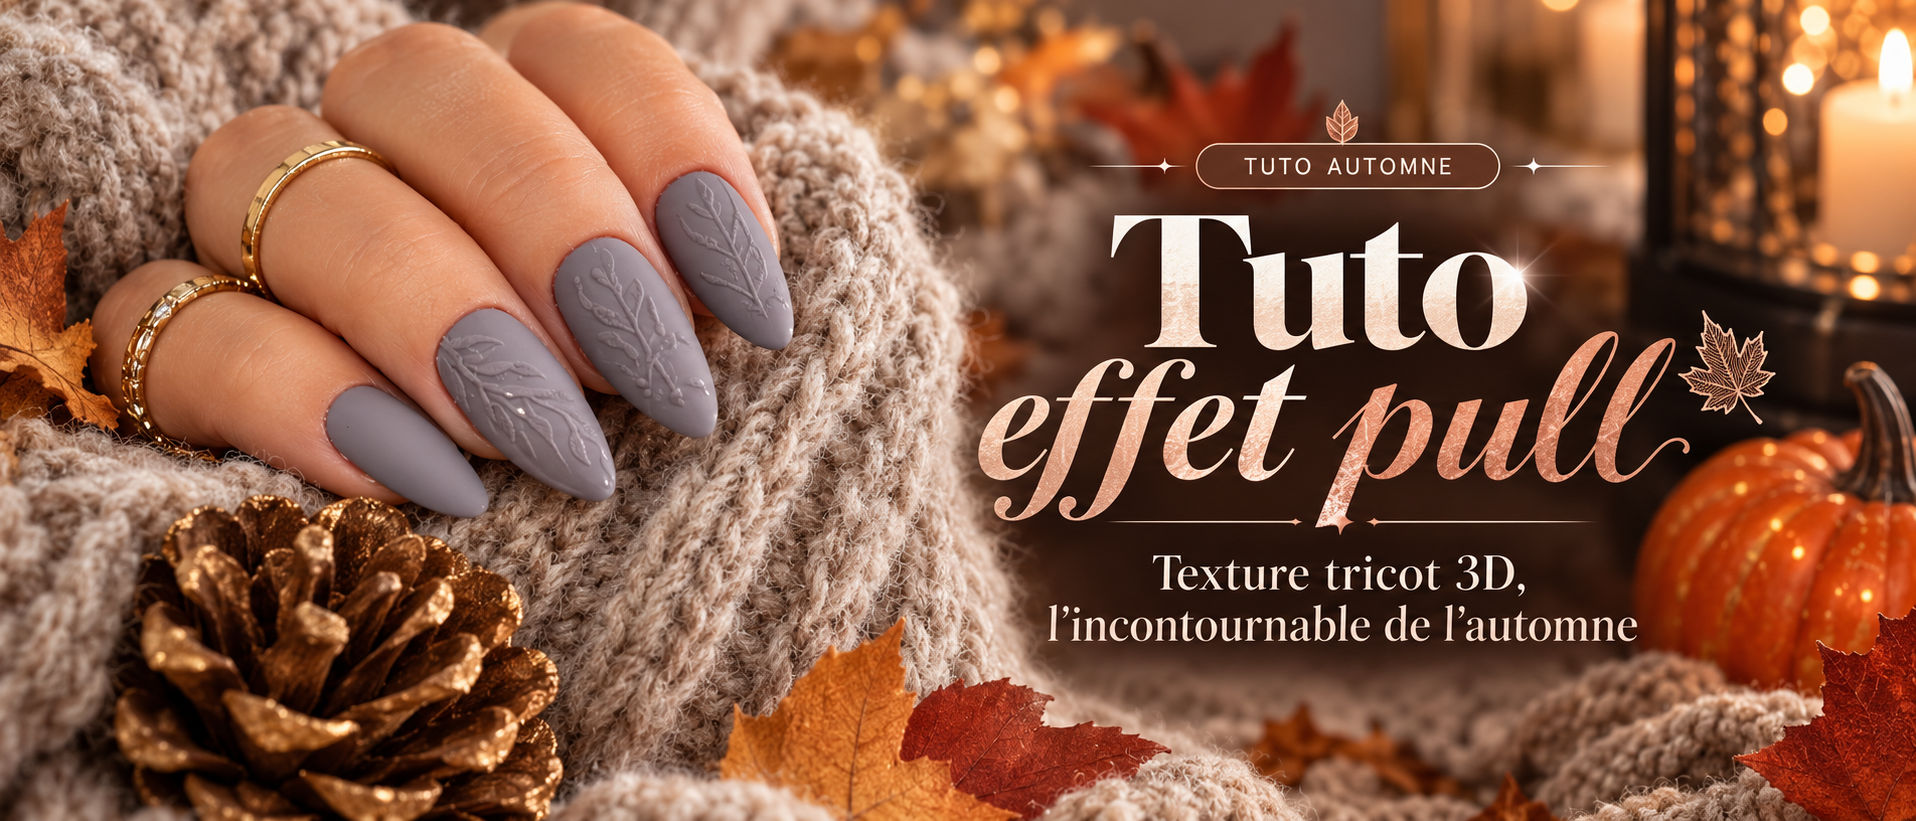
The sweater effect, autumn’s cocooning trend!
When temperatures start to drop and cozy sweaters come back out of our closets, our manicures also embrace seasonal textures.
With its raised knitted look and delicately powdery finish, the sweater effect adds a warm, elegant, and original touch to your nail art creations.
A Gel Polish color, a matte finish, a liner brush, and clear acrylic powder are enough to create pretty patterns inspired by the stitches of our favorite sweaters.
Discover our five-step tutorial to easily recreate this textured effect.
Required materials
Everything you need to create your sweater-effect manicure.
Tutorial steps
Follow each step in order. The key to this technique: sprinkle the acrylic powder before curing the patterns.
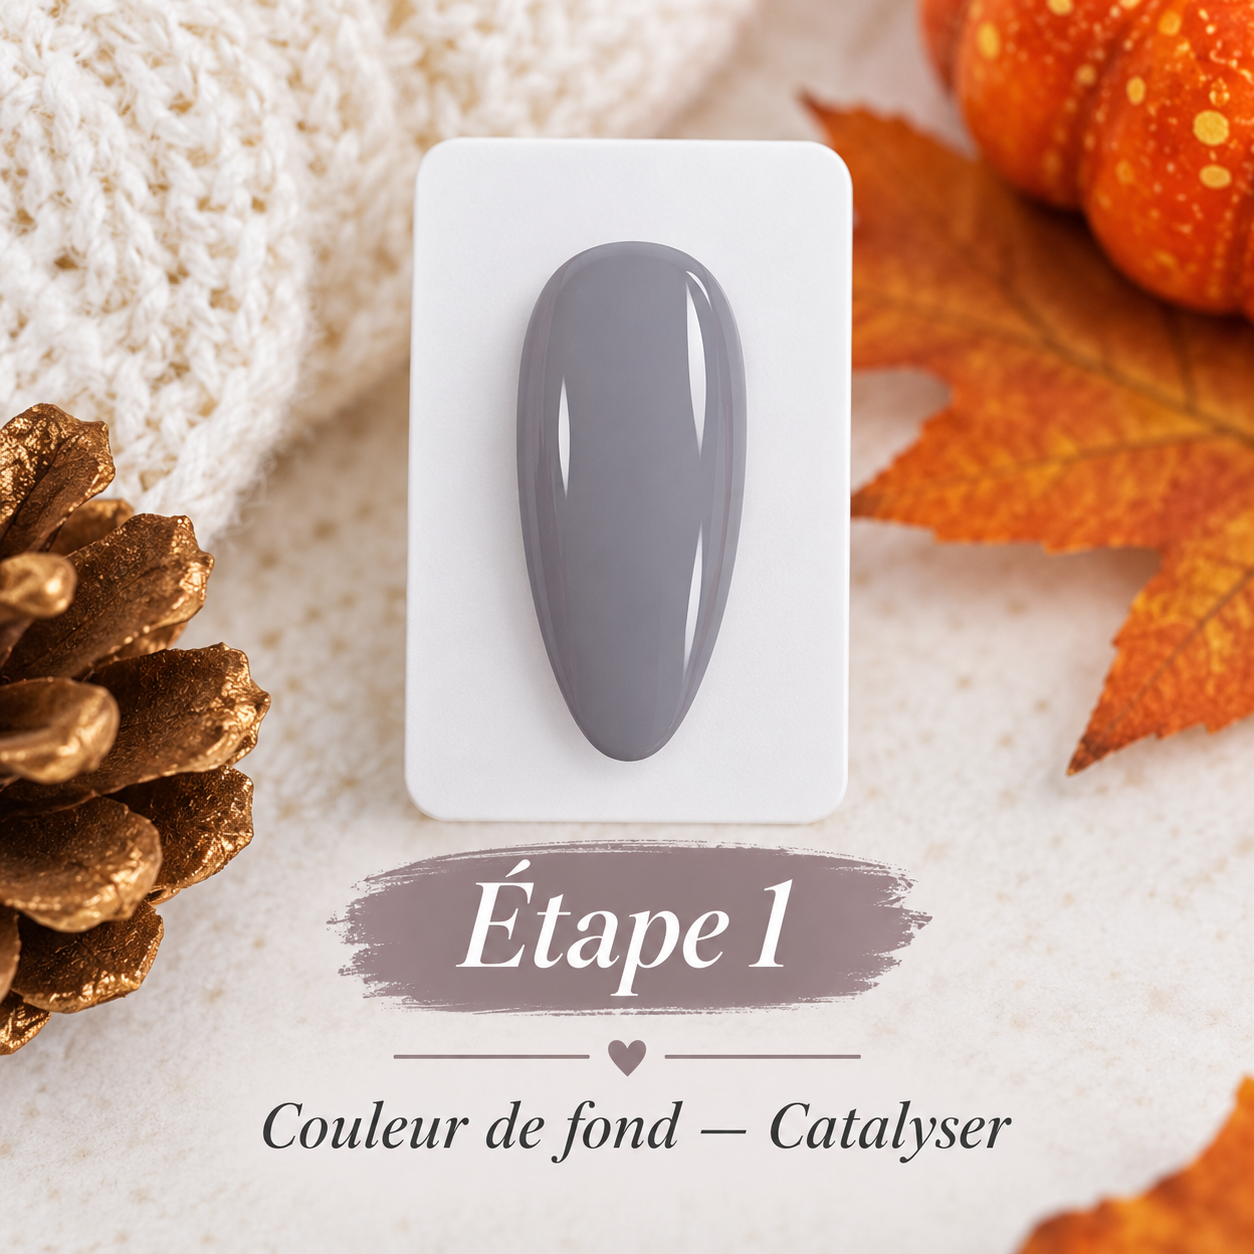
Prep and apply the base color
After prepping the nail and applying a suitable base, choose the Gel Polish color that will serve as the background for your sweater effect.
Apply an even coat over the entire nail surface, then cure according to the product recommendations.
If needed, apply a second coat to achieve a perfectly even, opaque color, then cure again.
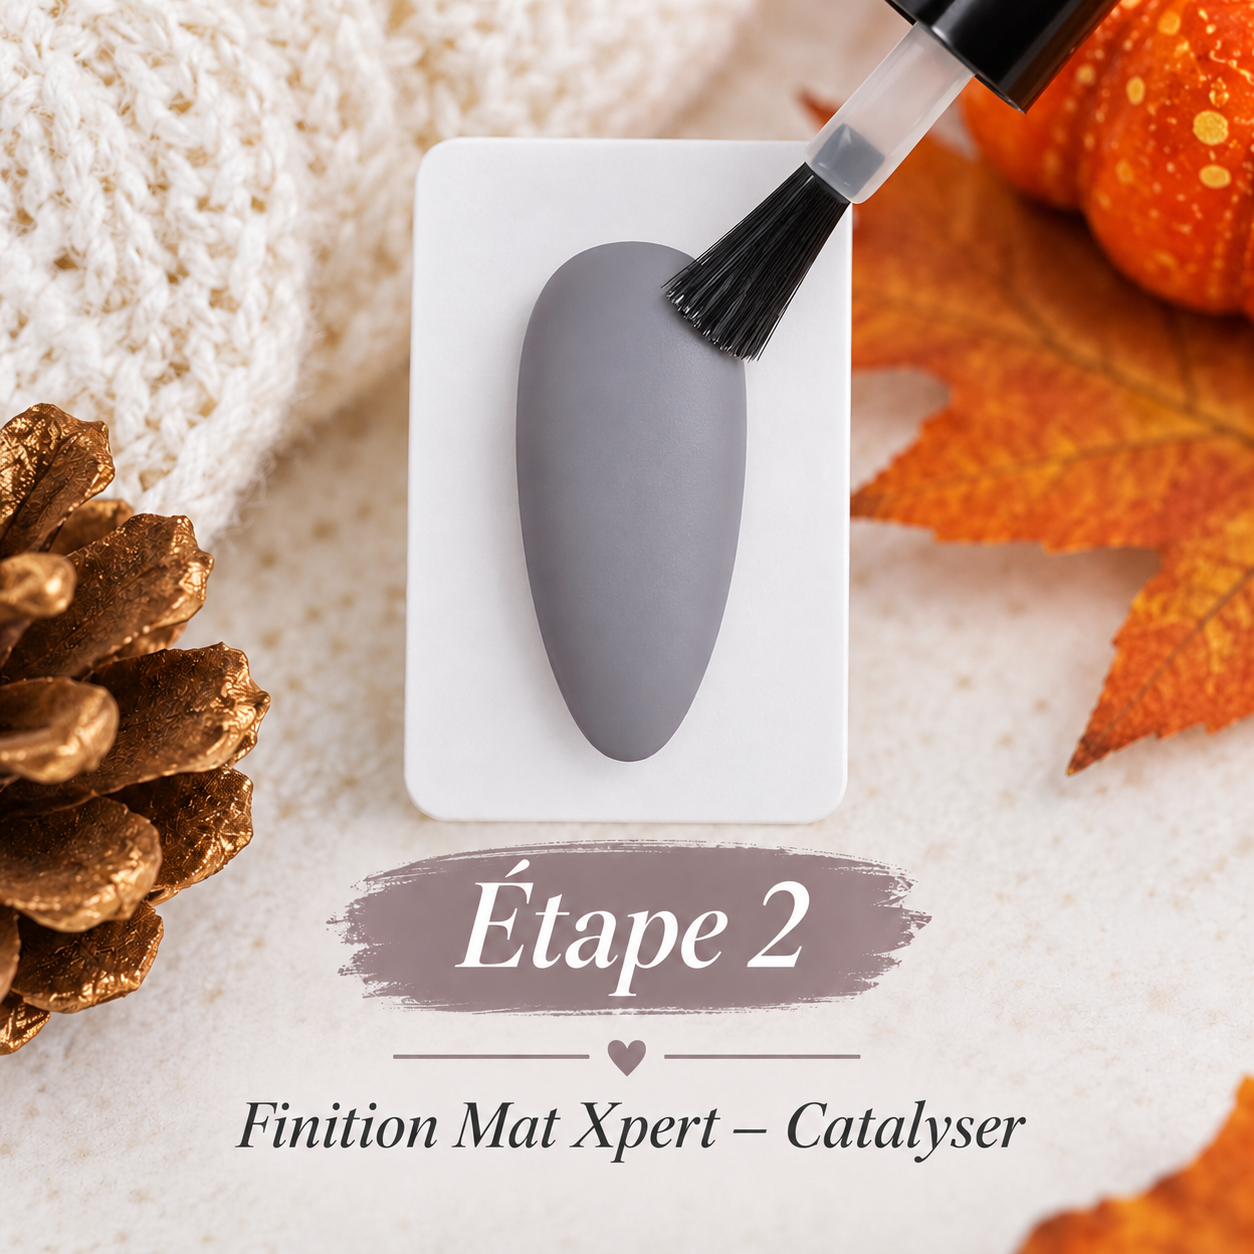
Apply the Mat Xpert top coat
Once the base color is cured, apply an even layer of Finish Mat Xpert over the entire nail.
Distribute the top coat well to get a smooth surface, then cure according to the manufacturer’s instructions.
This matte finish will serve as the base for the upcoming patterns and will help their texture stand out.
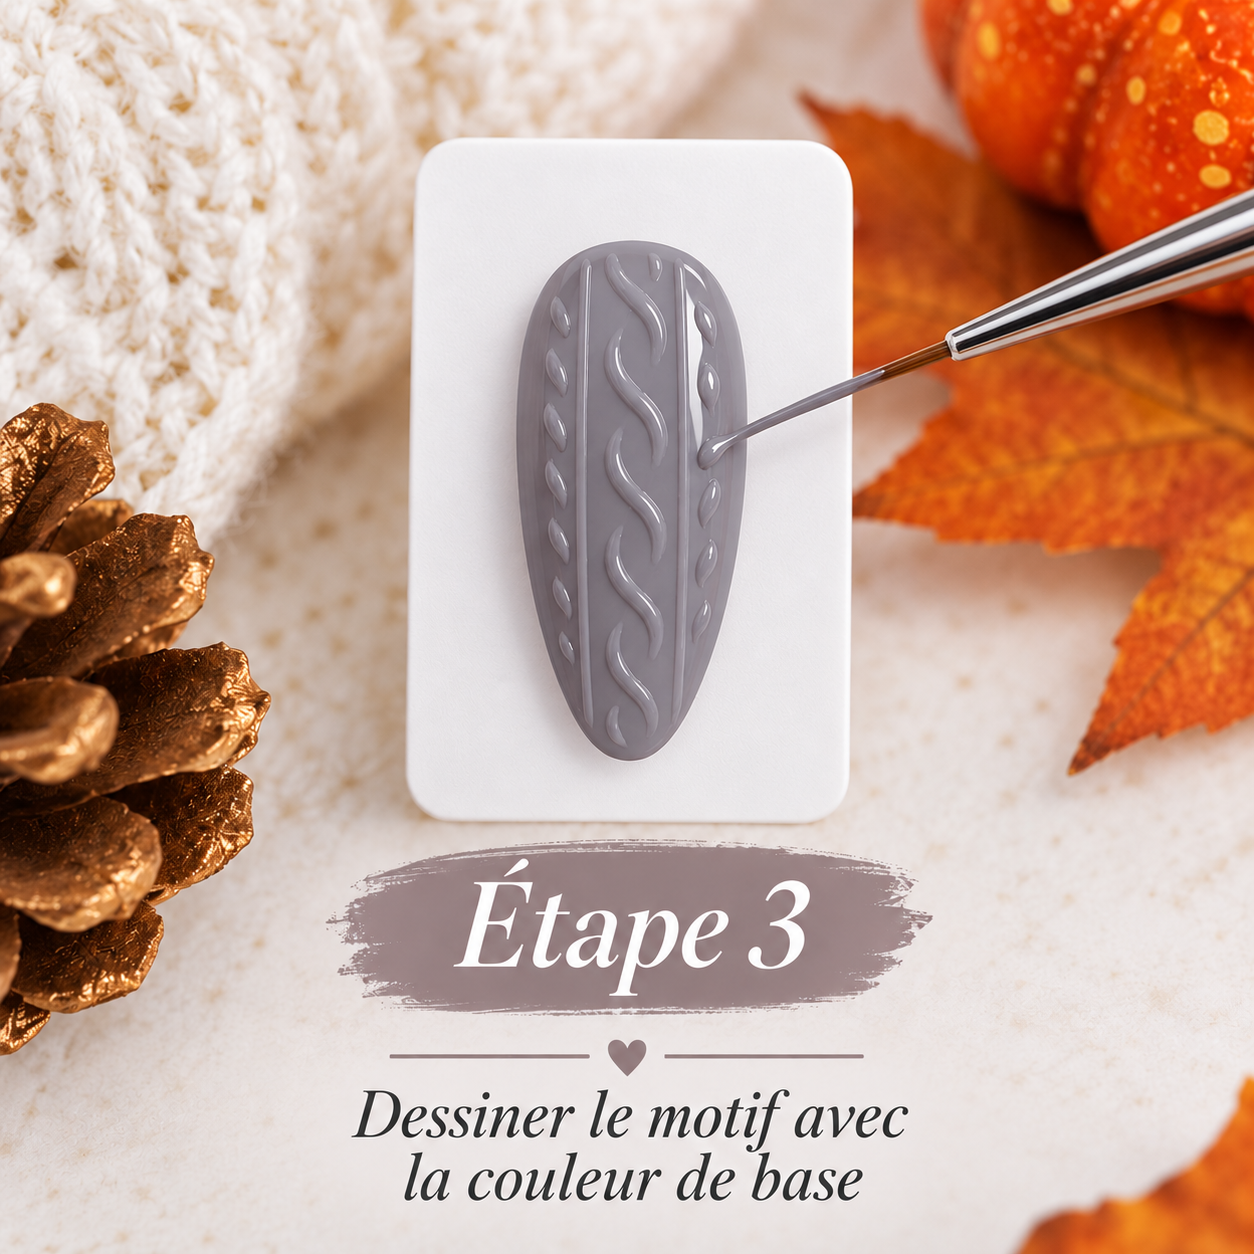
Draw the sweater-effect patterns
Use exactly the same Gel Polish color as the one used for the base. With a liner brush, draw the patterns directly onto the matte surface.
Depending on what you like, you can create:
- Vertical lines
- Interlaced cables
- Small raised dots
- Crossed stitches
- Geometric patterns
An 8 to 15 mm liner brush can be used depending on your comfort level and the style of pattern you want. Make sure to keep enough product in the lines to create a slight raised effect.
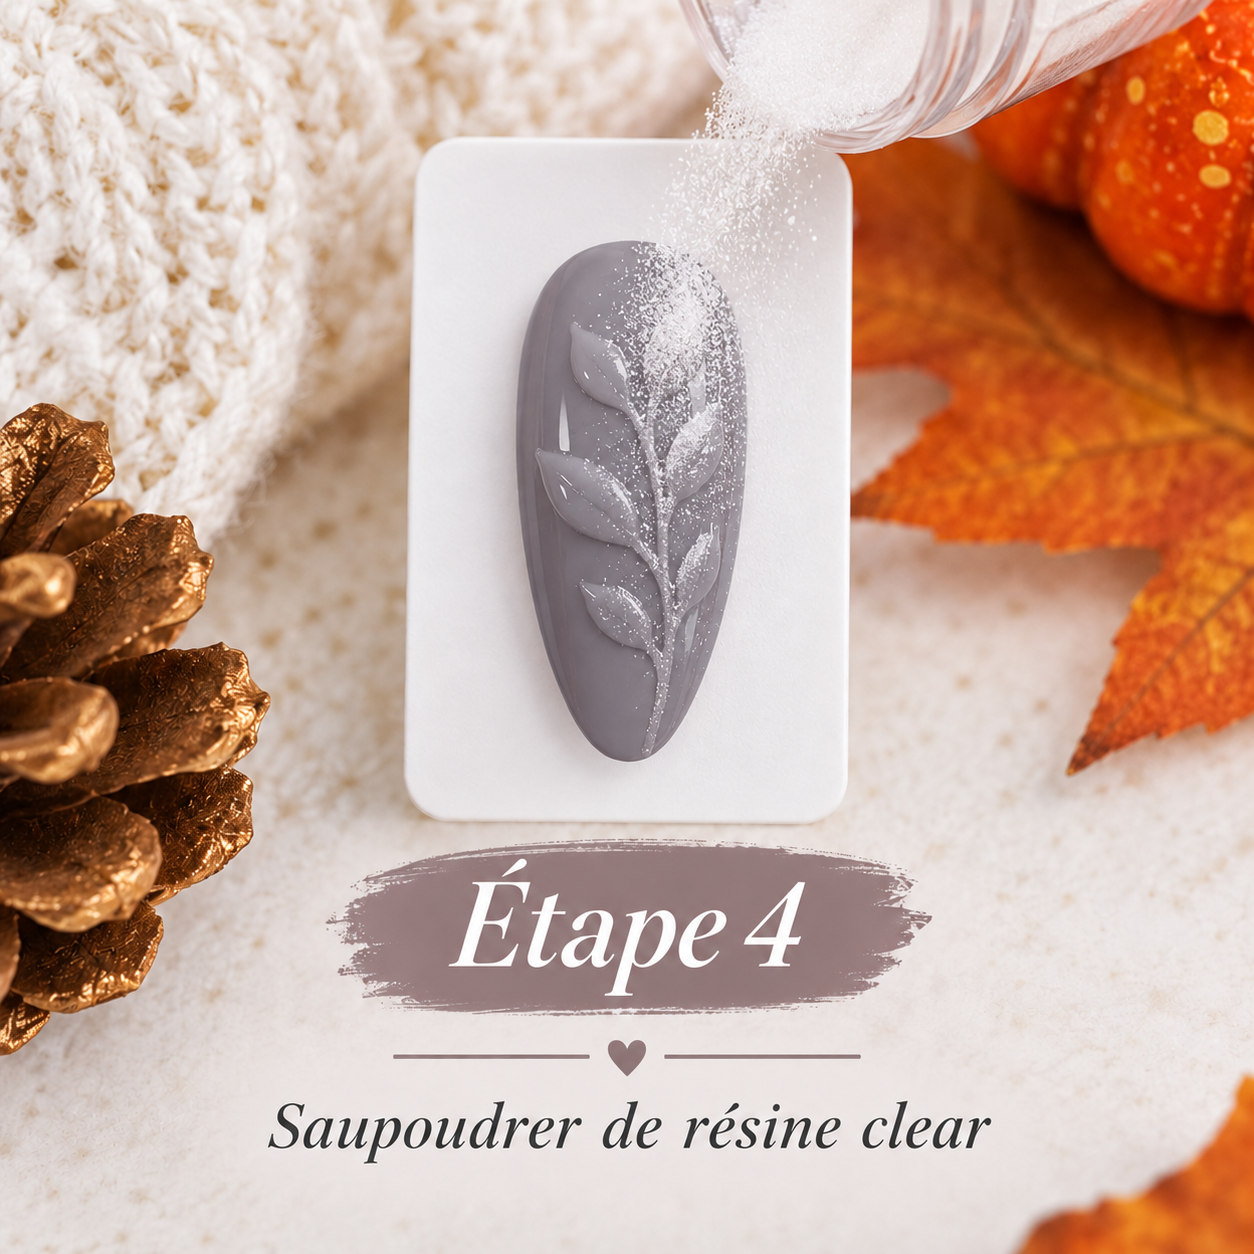
Sprinkle with Clear acrylic powder
Before curing the patterns, generously sprinkle Clear acrylic powder over the freshly drawn designs.
This transparent powder covers the still-uncured product and creates the signature textured look of the sweater effect. Make sure to cover the lines and small details of the pattern well.
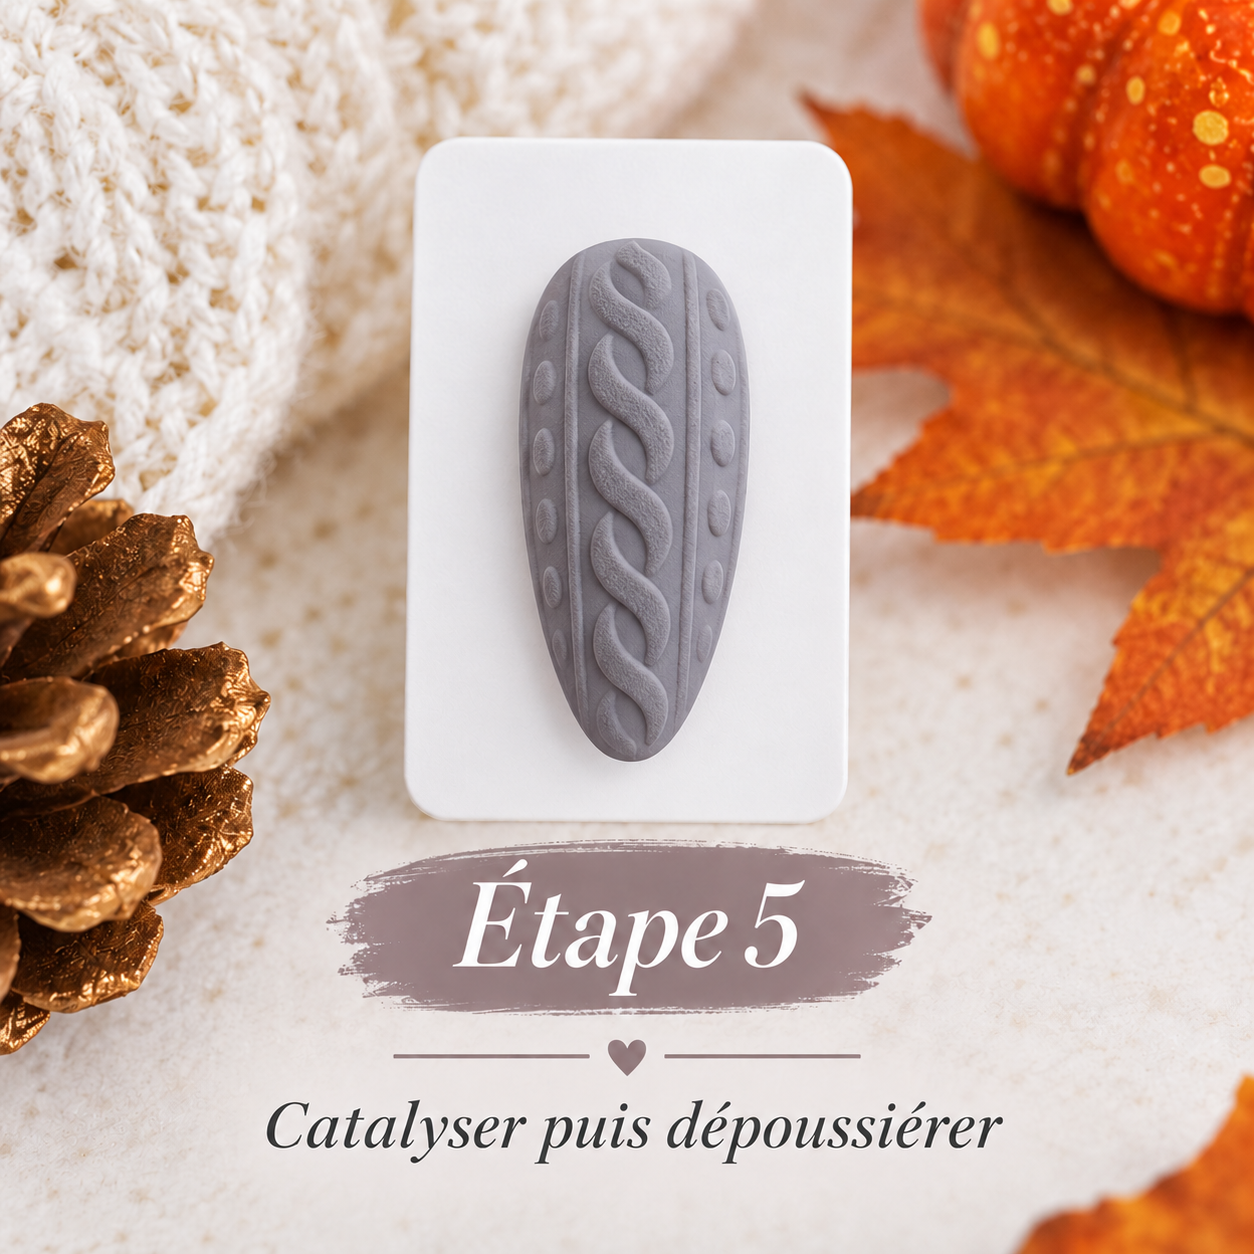
Cure, then dust off
Once the patterns are fully covered with Clear acrylic powder, place the nail under a UV/LED lamp. Cure according to the recommendations for the Gel Polish used, ensuring complete polymerization.
After curing, use a soft brush to gently remove the excess powder that didn’t adhere to the patterns.
The designs will then appear raised, with a slightly grainy, velvety effect that resembles sweater stitches. The sweater effect is finished!
A warm, elegant nail art full of dimension
The contrast between the matte base and the textured patterns adds depth to the manicure. A perfect technique for fall and winter collections.
Products used
The secret to a beautiful sweater effect: well-drawn patterns and enough product
- Take your time to create clean, even lines with your liner brush.
- Choose the length based on your habits: 8 mm for precise work, 12 to 15 mm for longer lines and curves.
- Apply enough color to form a slight raised effect, then sprinkle Clear acrylic powder before curing.
- Wait until curing is complete before removing the excess powder: you’ll get a beautiful contrast between the matte base and the textured patterns.
Create your sweater-effect manicure
Available in all your favorite colors, the sweater effect is a lovely way to personalize your nail art creations throughout the seasons.
Nude and taupe tones for a delicate manicure, burgundy for an autumn touch, or pastel shades for a soft result: let your creativity speak!
Find the required materials directly on our DesignNailArt store.
Discover the products